Hello again, Reader.
In my hall closet is a box of odds and sods. It’s mostly fabric scraps, but there is also a collection of doilies from my grandmother’s house, which made their way to me a few years ago. They’ve been sitting in my closet for quite a while now, and recently, I was inspired to do something with them. So I fired up the old Google, and hunted for interesting ideas.
Doily table runner
I found some pretty nifty notions, but there were three I liked the look of best. The first is a table runner made of crocheted doilies (just like the ones in my closet) sewn together. The second is a bowl made from a stiffened doily. The versions I saw indicated that you should harden it with glue or Mod Podge, but the image of the finished product reminded me of the lace bowls my god-mother places around her house on Christmas Eve. She soaks hers in water and cornstarch, and then fits them over a jar or bowl, and when they dry, they stand up on their own. The nice thing about doing it this way is that you can wash the starch out of the lace, at which point you can store it flat to be brought out again the next time you want to use it.
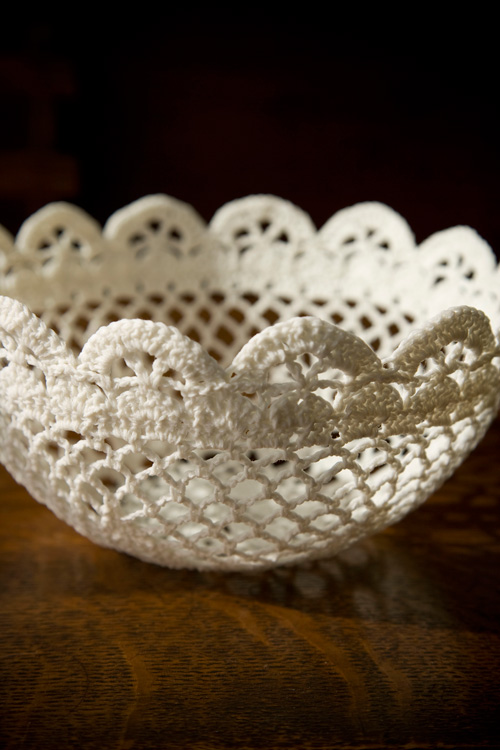
Lace bowl
The third one I dug was perhaps a little more involved, but very pretty. A large-enough doily would make a delicate and dainty collar on a blouse or sweater. You could alter it to make it a peter-pan collar, or just leave it as-is for a simpler version. I love this idea. All these projects made me anxious to get stuck in to my own work!
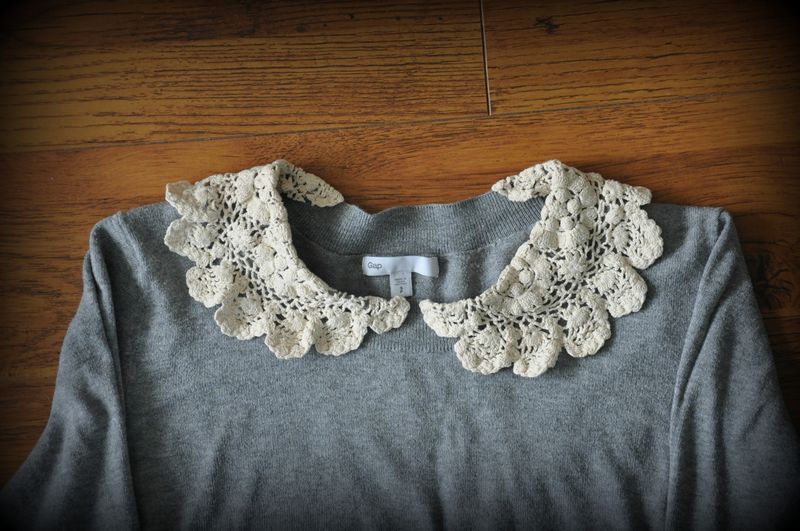
A cute collar: prim, preppy, and pretty!
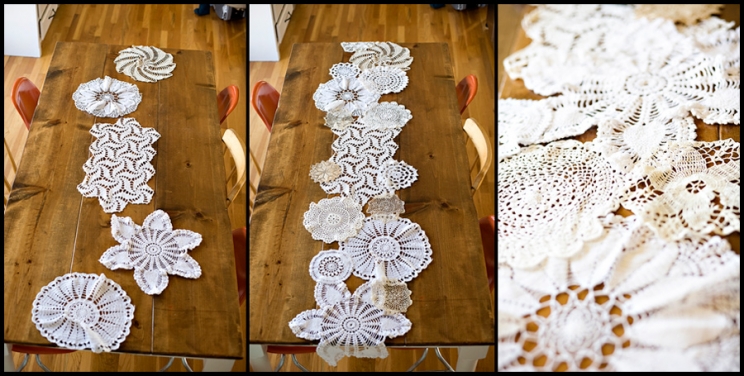
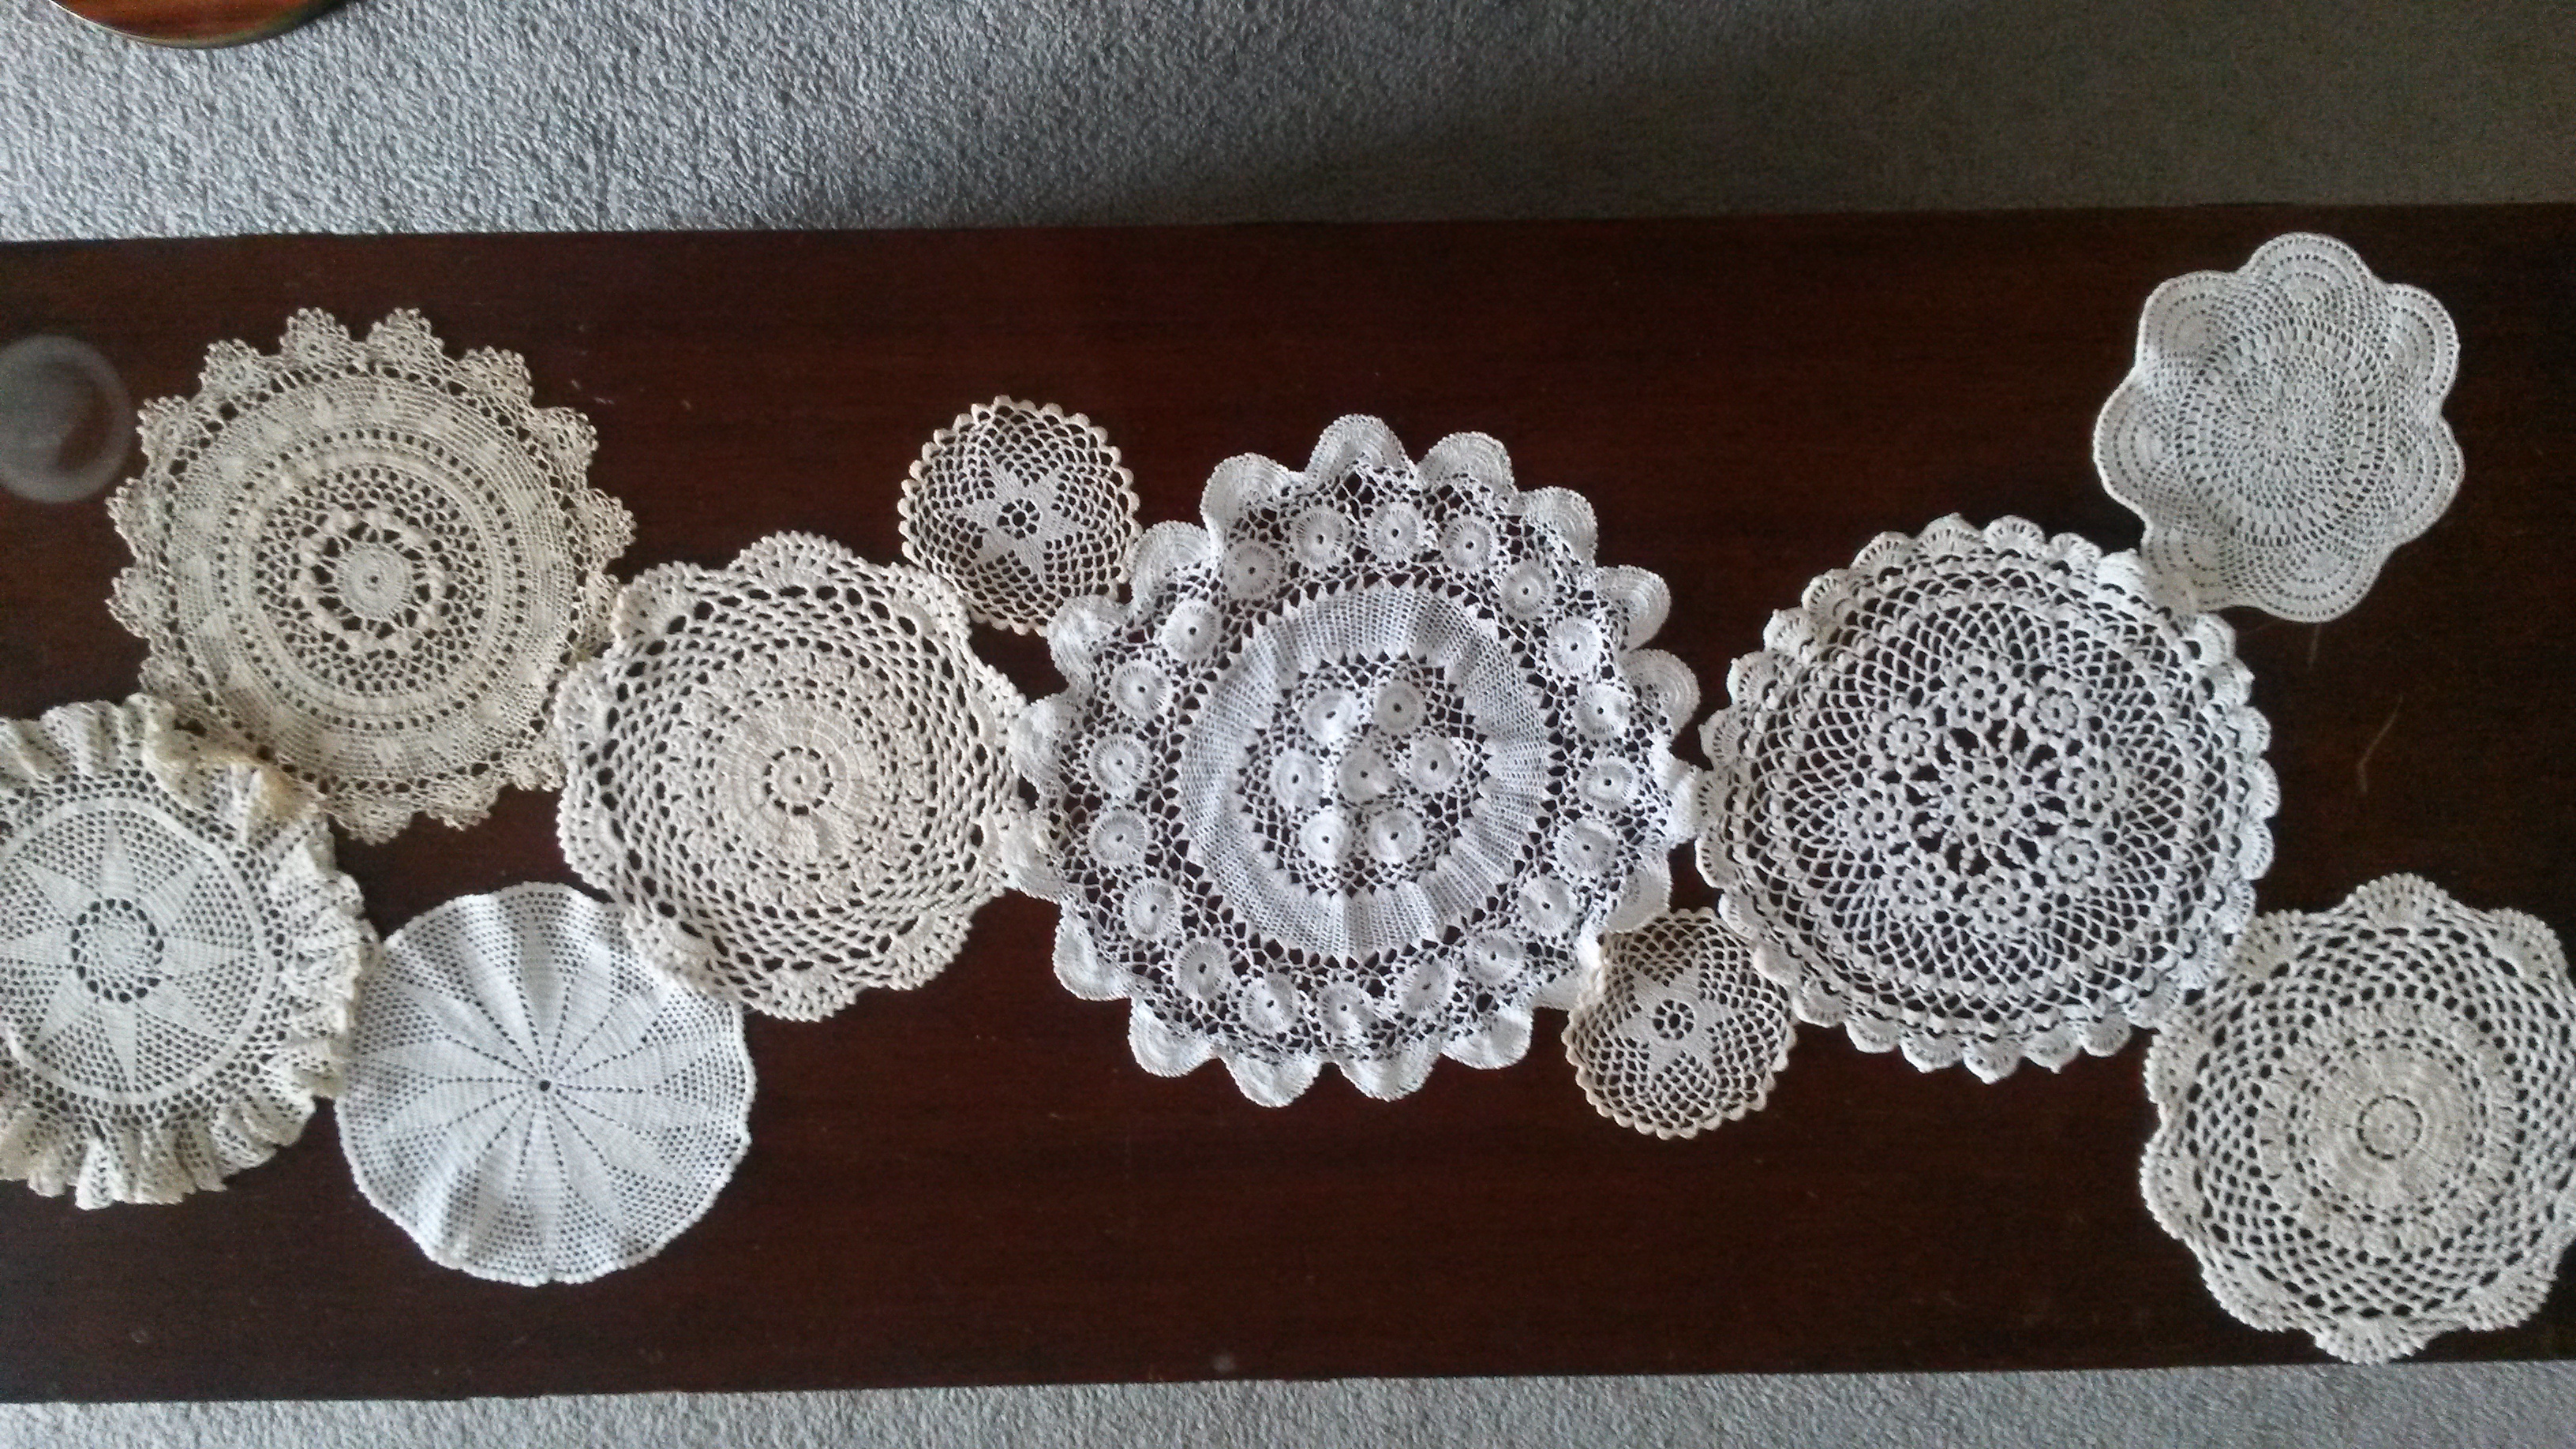
So, out came the doillies, and my needle and thread. Here are the doilies I chose to use: they are all roughly in the same colour palette, and I like that they vary a little bit in size.
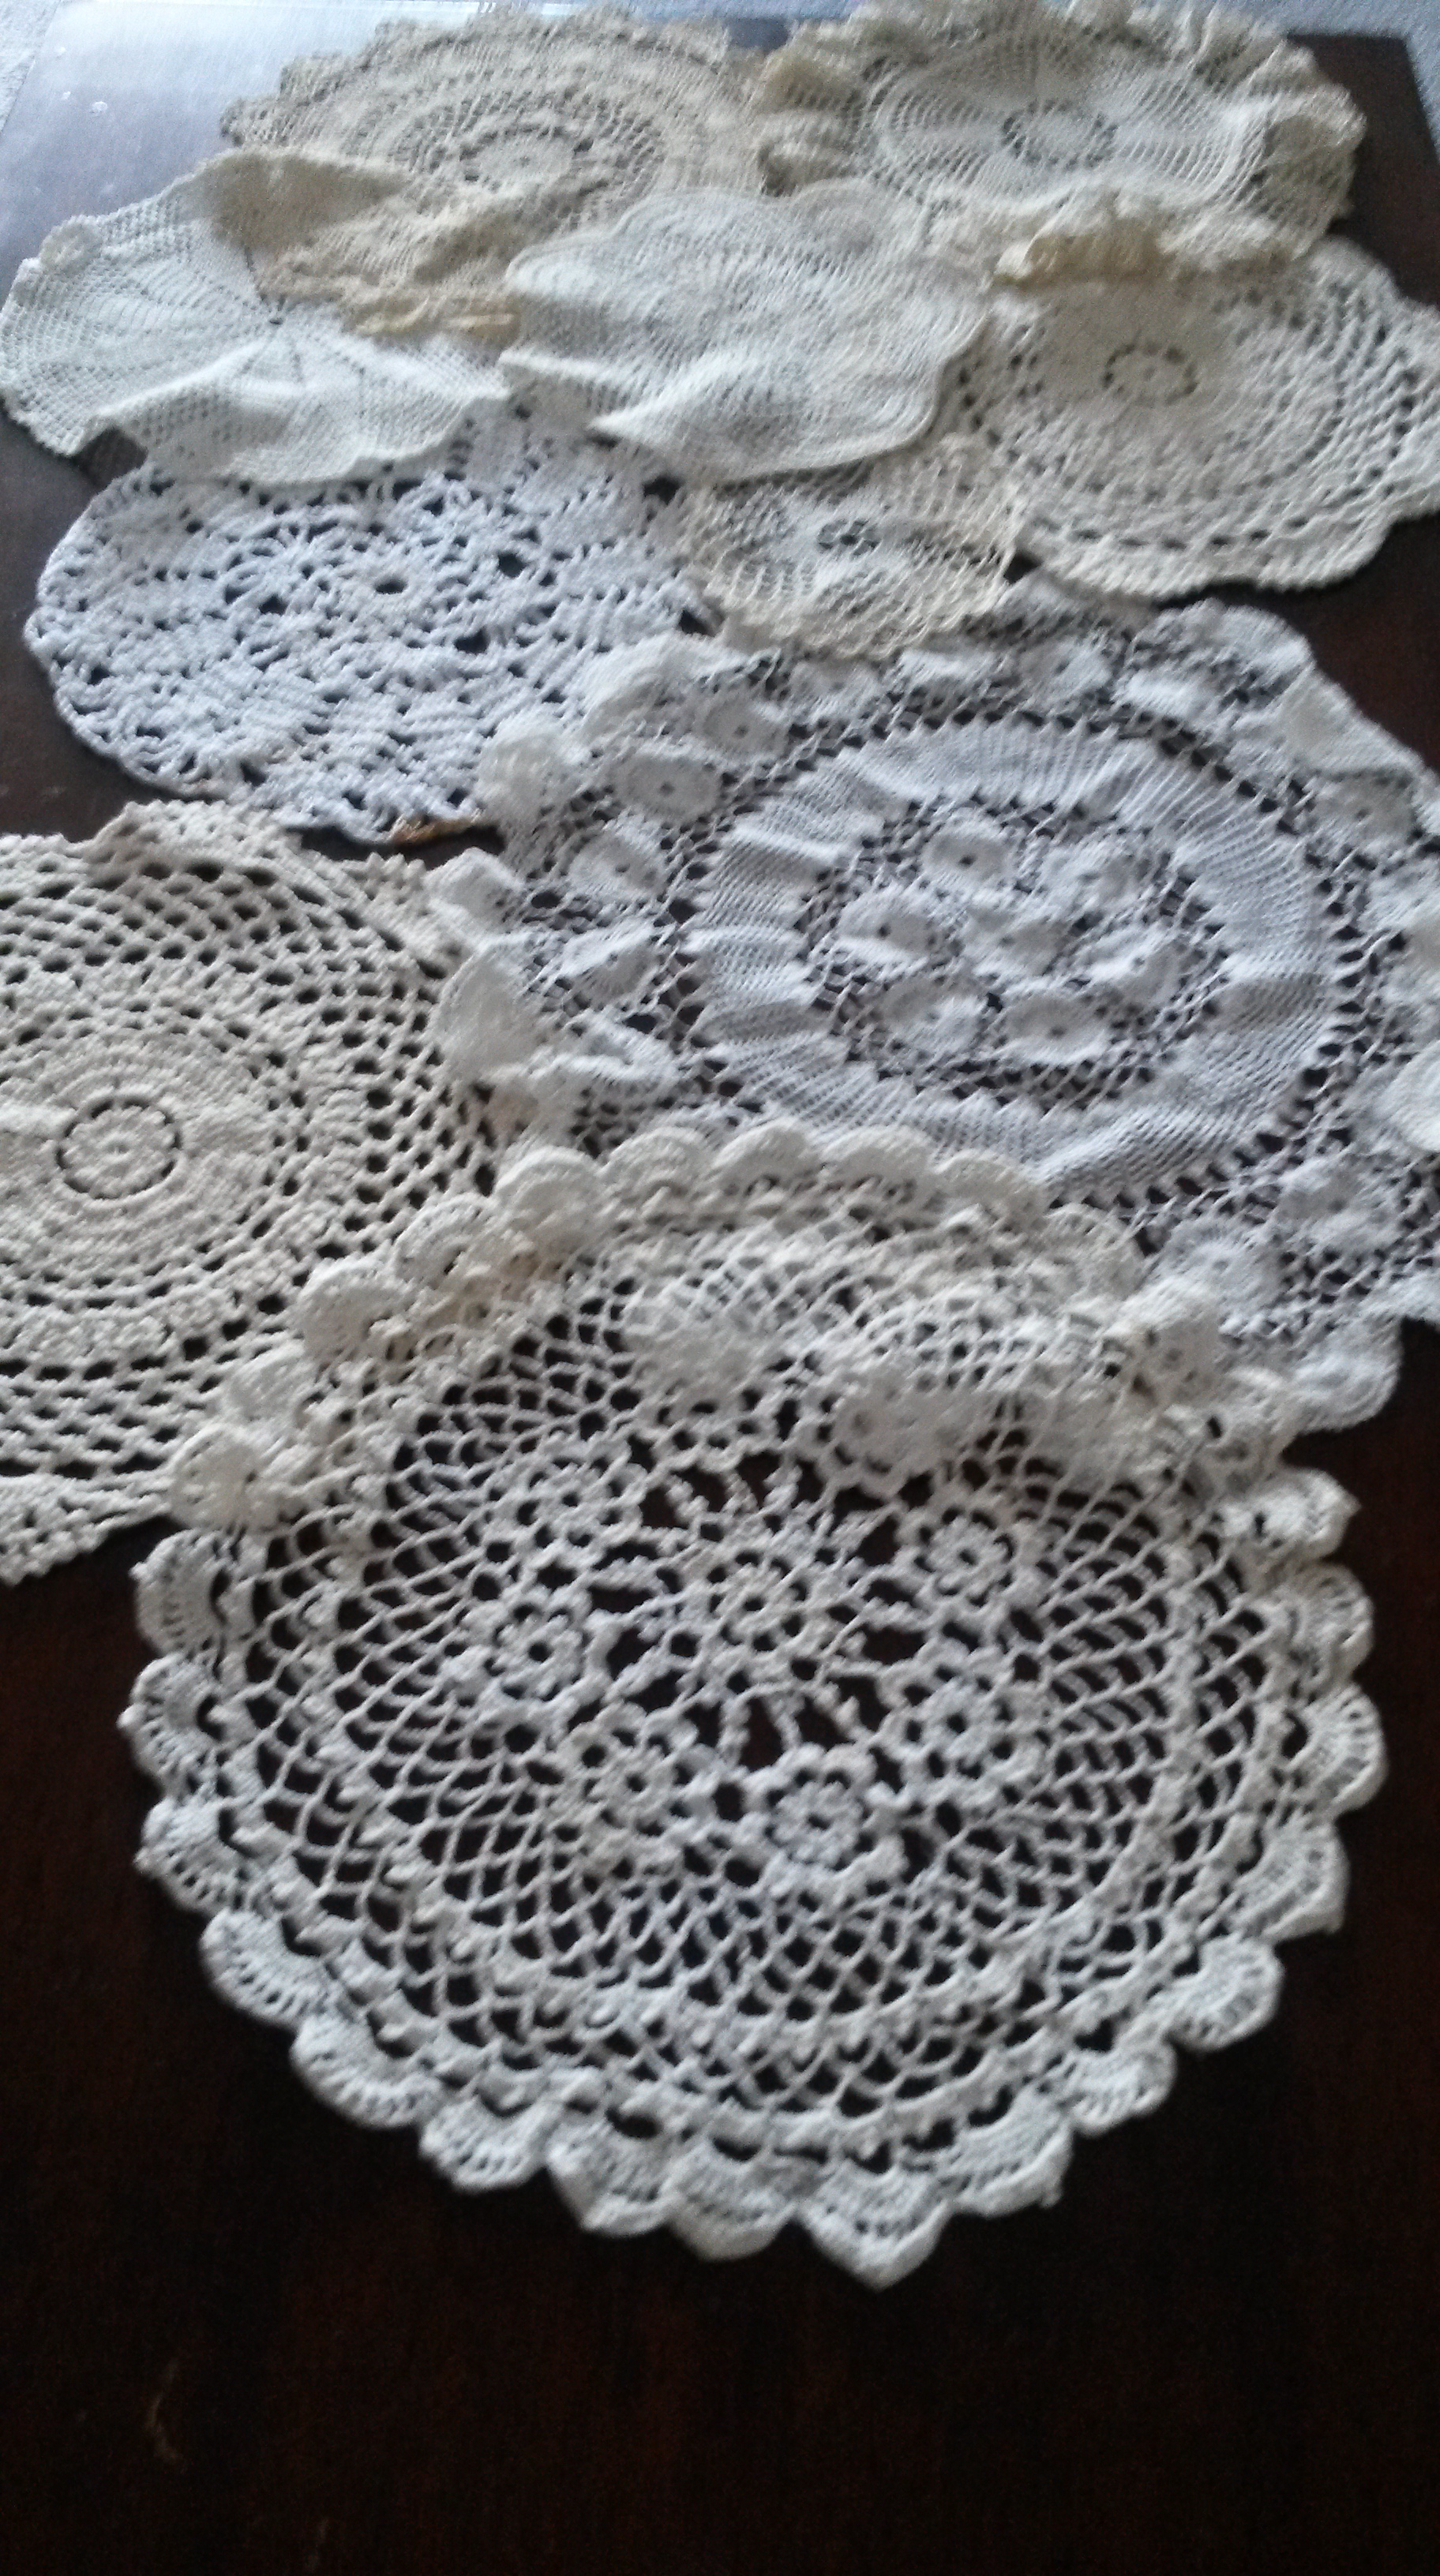
Spots of lace: they remind me of snow.
What I ended up doing was laying them out in the order I wanted, and then simply stitching the edges together by hand. I found I liked the look best when I placed the biggest ones down first, like a kind of foundation, and then added the smaller ones on top. It seemed more balanced and visually pleasing to me to do it that way than to simply line them up and hope for the best. I also liked the look of off-setting them, so that they aren’t centred or in a straight line.
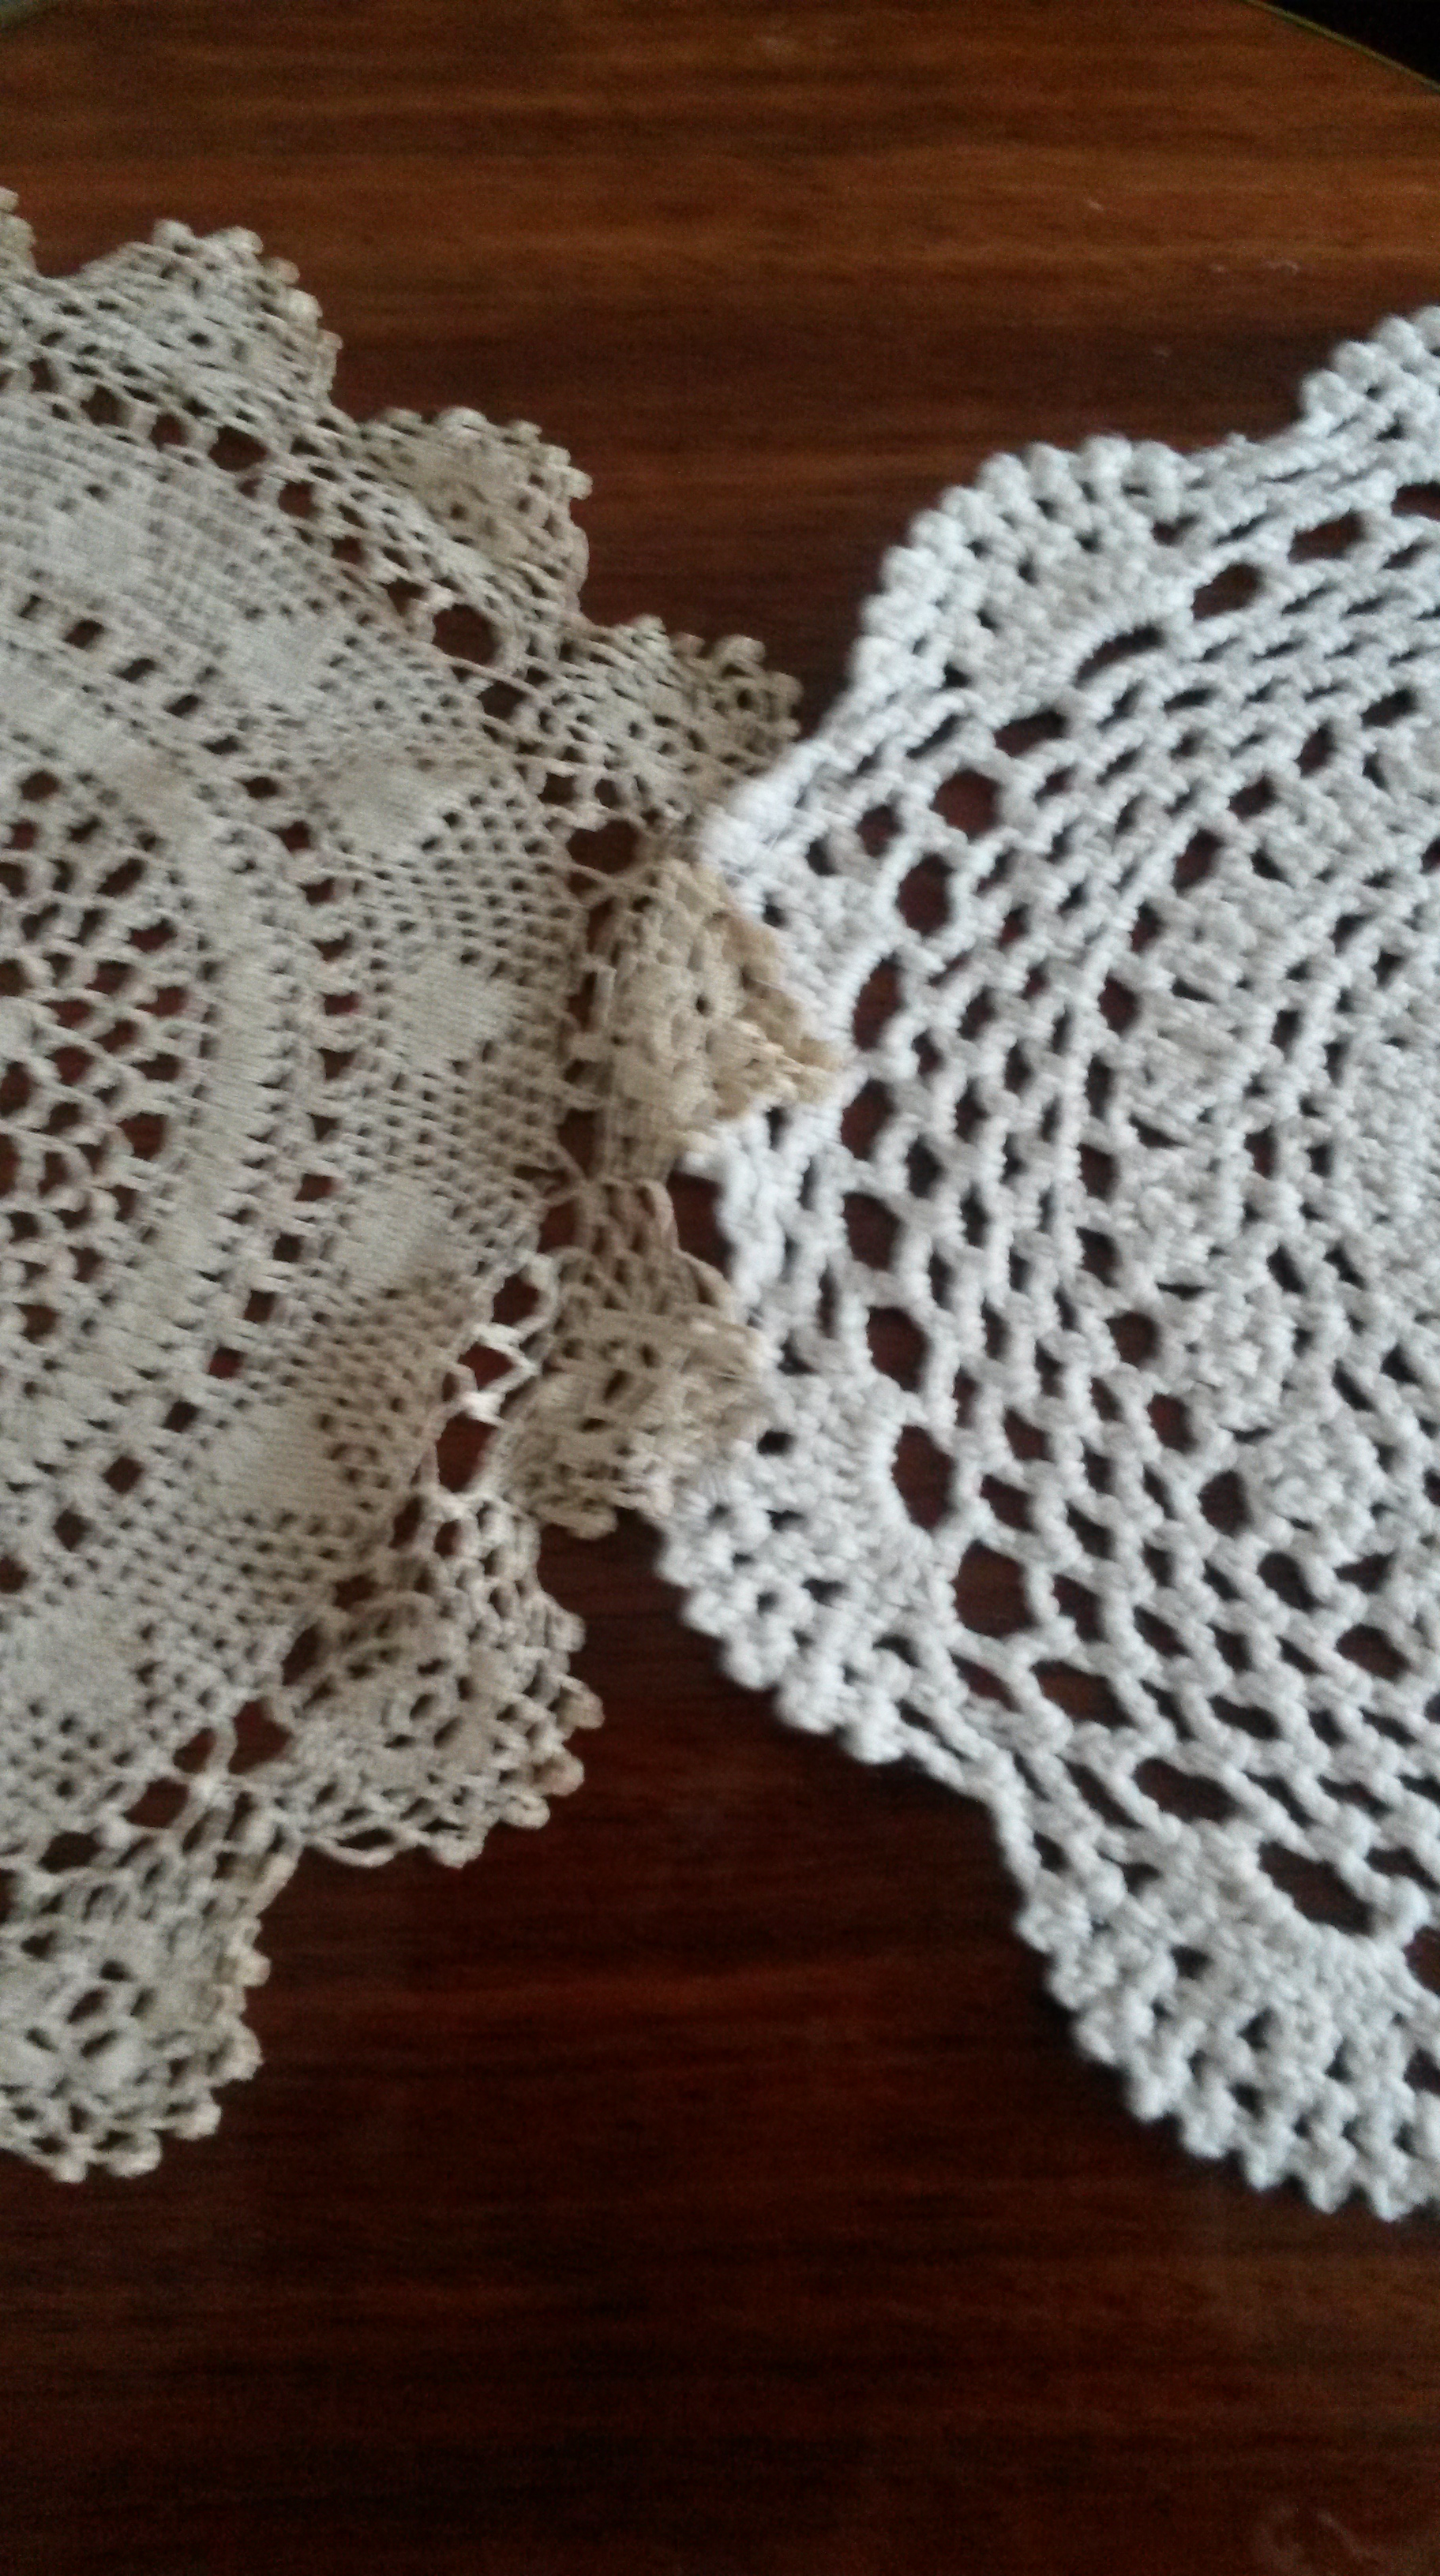
Simple tacking joins do the trick here.
Now, it goes without saying that if you wanted to speed up this process, a sewing machine could certainly help. I don’t currently have access to a sewing machine, so hand-sewing it is! The whole job took me about thirty minutes, but most of that was arranging and re-arranging the doilies just so. The actual sewing was over in a flash.
All done! (For now.)
Here’s the finished product. The nice thing about a project like this one is that you can add to it very easily. Actually, removing doilies would be pretty simple too: the stitches are basically just tacking the doilies together, so it would be a cinch to take them out and start again, or just make adjustments. You can add or subtract as many or as few doilies as you wanted to fit the table you’re using. Be warned, though: if you hand-stitch these together, the finished result is going to be fairly delicate. It’s best to machine sew these babies if you plan to put the runner in the wash.
These might make a nice addition to a plain table, and would likely work a treat on a table at a rustic/DIY/country wedding. They’d also be a nifty appliqué, if that’s your thing.
Do you have any favourite doily-inspired projects? I’d love to hear about them: leave me a comment! Bonus points for pictures!
Until next time, Reader.
Yours,
Cotton Jenny

Would make a great topper for a grand piano.
LikeLike
Ooh, yes! I love that idea!
LikeLike